
In this blog post, I will describe how I set up my blog using:
- Ghost: obviously the blogging platform
- Nginx: frontend proxy
- MariaDB: database backend
- Docker 🐋: to run the whole thing
Background
I have been wanting to start my personal blog for a while. And after weighing the pros and cons of the different options, I have finally decided to use Ghost for my personal blog, running on a cloud VM on DigitalOcean.
Although ghost.org offers fully managed Ghost infrastructure, it was too expensive for a personal blog as the pricing starts from 29$/month. Besides, I really like getting my hands dirty so I also opted against using the Ghost one-click installation offered by DigitalOcean.
I have decided to use Docker to run the blog stack (Ghost + MariaDB + Nginx) to be able to spin up the blog easily, and also to be able to replicate the same setup locally or anywhere else when needed.
In order to achieve this, I have created the mehyedes/docker-ghost github repository to make it easier to deploy the blog.

In the course of this post, I will describe how you can use my github repository to easily deploy your Ghost blog.
Preparing the setup
If you are only interested in running Ghost locally for testing/experimenting purposes, skip directly to the "Deploying the Ghost blog" section.
As I mentioned earlier in this post, I have opted for running my blog on a Digitalocean Ubuntu 18.04 VM.
In this section, I will describe the steps that I have followed to prepare my setup, which only costs me around 7$/month including the domain name registration.
Register a domain name
Of course, first you need to choose and register a domain name for your blog. There are multiple domain name registrars to choose from such as GoDaddy, 1&1 or namecheap.
I chose to register my myedes.io domain with namecheap.com because that's where I was able to get a good deal for an .io domain for only 25$/year.
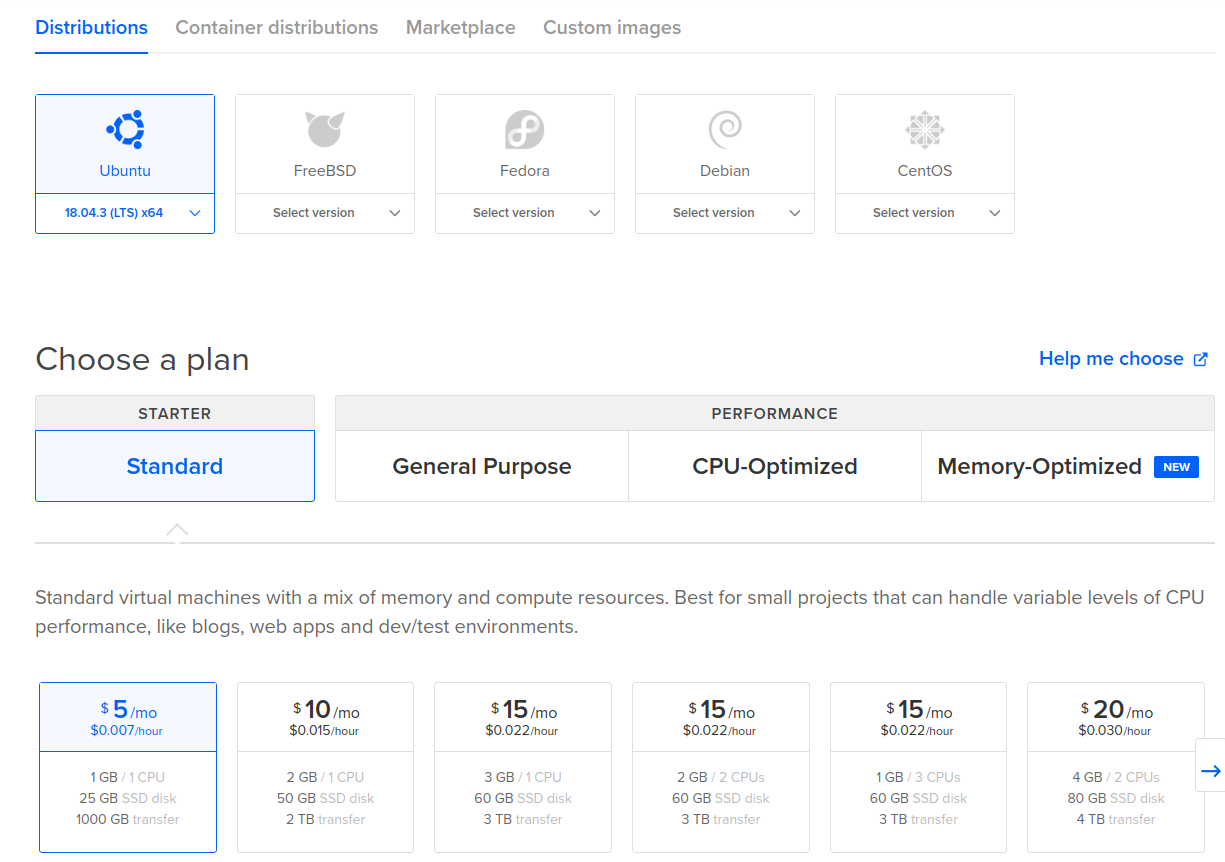
Provision a cloud instance
Since this is just personal blog, I wasn't expecting much traffic so a standard 5$/month instance on Digitalocean would do the job. I chose Ubuntu 18.04 for for the OS, but there shouldn't be much difference when choosing another OS since the setup relies on Docker.
If you choose to use Digitalocean for hosting your blog, you can use this affiliate link and get 100$ of free credits.
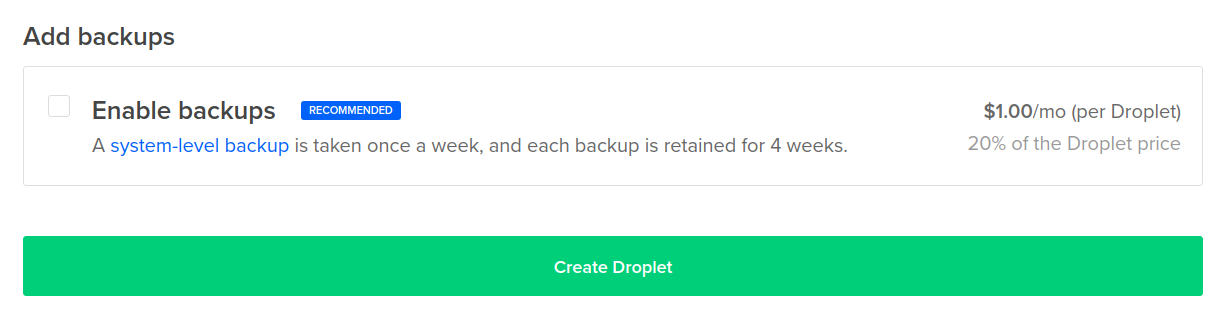
You can also enable backups for your instance for 20% of the price, which would cost around 1$/month for a 5$ droplet.
Point to your cloud provider's name servers
Although you can configure this directly through your domain name registrar using your VM's public IP, it's better to point to the cloud provider's name servers and configure the name resolution there.
For the Namecheap + Digitalocean combination, this can be easily configured as described in the 2 links below:


After that, you can point your domain to your cloud instance directly from your cloud hosting provider's dashboard.
You might need to wait for around 24h for the DNS changes to propagate.
Deploying the Ghost blog
In this section, I will describe how you can use the mehyedes/docker-ghost github repository to deploy Ghost.
Pre-requisites
Since everything will be running on Docker, the only dependencies needed are docker and docker-compose which they can be installed using the command below on Ubuntu 18.04:
$ sudo apt install docker.io docker-composeYou also need to make sure that your non-root user (here ubuntu) is in the docker group to be able to run docker commands:
$ sudo usermod ubuntu -aG dockerI used docker-compose here because it offers an easy way to orchestrate the deployment of multiple Docker containers; in this case: ghost, nginx and MariaDB.
Preparing the environment
First, you need to clone the github repository on your machine:
$ git clone https://github.com/mehyedes/docker-ghost.git
$ cd docker-ghost/The .env files provided in the github repository contains default configuration which can be used for running ghost locally. However, for running a public blog it must be changed accordingly. In that case, create a .env.prod file and set your configuration there:
# Tag used for the ghost docker image
export GHOST_IMAGE_TAG=3.2.0-alpine

# Tag used for the MariaDB docker image
export MARIADB_IMAGE_TAG=10.4

# Configure the blog url in ghost
export BLOG_URL=http://127.0.0.1

# Root password used for MariaDB
export MYSQL_ROOT_PASSWORD=dummy

# User password used by ghost to connect to the database
export MYSQL_PASSWORD=ghost1234

# Host folders used by the containers
export MYSQL_HOST_PATH=~/mariadb_data
export GHOST_HOST_PATH=~/ghost
export NGINX_HOST_PATH=~/nginx

# Exposed host ports
export NGINX_HTTP_PORT=80
export NGINX_HTTPS_PORT=443The environment variables defined above are used by docker-compose to configure the Docker containers during (re)creation:
 version: '3.3'

services:
  mariadb:
    image: mariadb:${MARIADB_IMAGE_TAG:-10.4}
    environment:
      MYSQL_ROOT_PASSWORD: ${MYSQL_ROOT_PASSWORD:-dummy}
      MYSQL_USER: ghost
      MYSQL_PASSWORD: ${MYSQL_PASSWORD:-ghost1234}
      MYSQL_DATABASE: ghost_production
    restart: always
    volumes:
      - type: bind
        source: ${MYSQL_HOST_PATH:-~/mariadb_data}
        target: /var/lib/mysql

  ghost:
    image: ghost:${GHOST_IMAGE_TAG:-3.2.0-alpine}
    environment:
      url: ${BLOG_URL:-http://127.0.0.1}
      database__client: mysql
      database__connection__host: mariadb
      database__connection__database: ghost_production
      database__connection__user: ghost
      database__connection__password: ${MYSQL_PASSWORD:-ghost1234}
    depends_on:
      - mariadb
    restart: always
    volumes:
      - type: bind
        source: ${GHOST_HOST_PATH:-~/ghost}
        target: /var/lib/ghost/content

  nginx:
    image: nginx
    restart: always
    ports:
      - "${NGINX_HTTP_PORT:-80}:80"
      - "${NGINX_HTTPS_PORT:-443}:443"
    volumes:
      - type: bind
        source: ${NGINX_HOST_PATH:-~/nginx}
        target: /etc/nginx/conf.d/
Since you don't want to lose your data if the containers die, host folders are needed for storing the blog and the database data. A host folder is also used to store the nginx configuration files to avoid the need for building a custom nginx Docker image.
The folders are created by default under the home directory, and this default Nginx configuration would be used:
server {
	server_name _;
	listen 80 default_server;

	location / {
		proxy_pass	http://ghost:2368;
	    proxy_set_header    X-Real-IP $remote_addr;
	    proxy_set_header    Host      $http_host;
	    proxy_set_header X-Forwarded-For $proxy_add_x_forwarded_for;

	}
	server_tokens off;
}It is not recommended to use this default nginx configuration for your public Ghost blog. You'd want to enable SSL encryption for your blog to have that fancy green lock 🔒 next to your domain name in the browser, and also to protect your credentials when accessing the Ghost admin panel.
Please check the "Adding SSL Encryption" section in the end of the post to see how you can do that.
Deploying
In order to deploy ghost, you just need to run the deploy.sh script provided in the github repository:
$ cd docker-ghost/

# You need to provide the file path for the env file
$ ./deploy.sh
This script takes exactly 1 argument
Usage: ./deploy $ENV_FILE_PATH

$ ./deploy.sh .env
Sourcing .env
Deploying Ghost with the following configuration:
Blog URL: http://127.0.0.1
MySQL user password: ghost1234
MySQL root password: dummy
Ghost host data folder: /home/mehdi/ghost
MySQL host data folder: /home/mehdi/mariadb_data
Nginx host config folder: /home/mehdi/nginx
HTTP port: 80
HTTPS port: 443
Confirm the deployment? (Y/N): y
Creating host folders...
Deploying...

Creating network "blog_default" with the default driver
Creating blog_nginx_1 ...
Creating blog_mariadb_1 ...
Creating blog_nginx_1
Creating blog_mariadb_1 ... done
Creating blog_ghost_1 ...
Creating blog_ghost_1 ... doneYou can see that the containers are now up and running:
$ docker ps

CONTAINER ID        IMAGE                COMMAND		CREATED             STATUS              PORTS                                      NAMES
80e93e0cbcfa        ghost:3.2.0-alpine   "docker-entrypoint.s…"   11 seconds ago      Up 10 seconds       2368/tcp                                   blog_ghost_1
0d51581b4e39        mariadb:10.4         "docker-entrypoint.s…"   13 seconds ago      Up 10 seconds       3306/tcp                                   blog_mariadb_1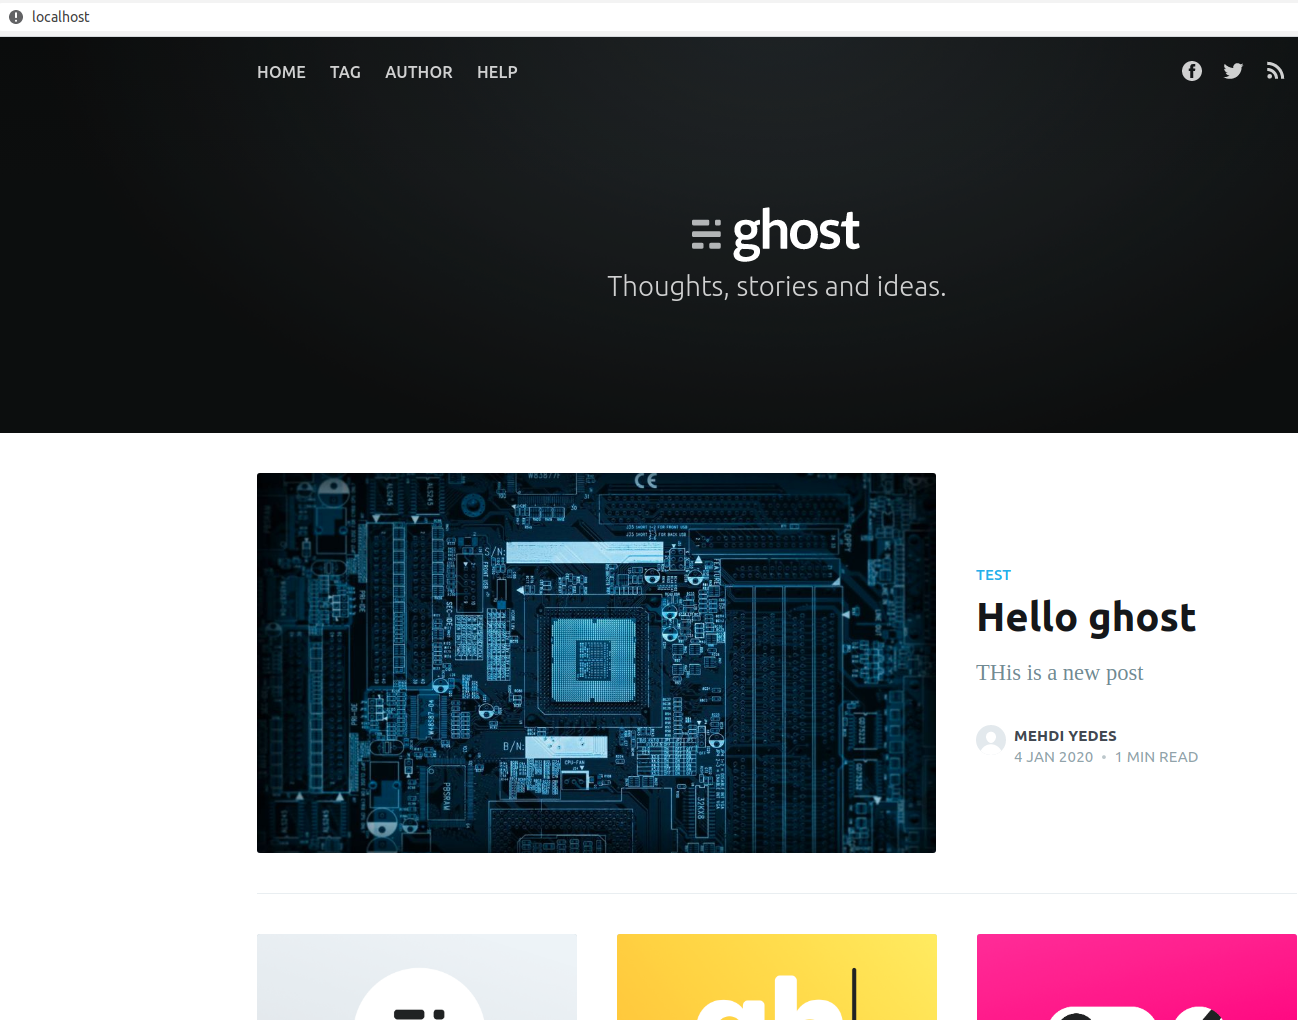
974954b5d518 nginx "nginx -g 'daemon of…" 13 seconds ago Up 10 seconds 0.0.0.0:80->80/tcp, 0.0.0.0:443->443/tcp blog_nginx_1By navigating to your VM's public IP address or to http://127.0.0.1 (if you are running ghost on your local environment), you should now be able to access your new ghost blog:
Adding SSL Encryption
You'd also like to enable SSL encryption for your blog to avoid your admin credentials from being sent in clear-text over the internet.
Unless you already have your SSL certificate issued, you can achieve this easily with LetsEncrypt and get a new certificate. However, the validity of the certificates would be only 90 days. But luckily, the certificate renewal can be automated using certbot.
You can install certbot easily and order a new certificate in a matter of minutes:
# Install certbot
$ sudo add-apt-repository ppa:certbot/certbot
$ sudo apt install certbot python-certbot-nginx
There are several methods for ordering a certificate using certbot, the instructions are provided here depending on your OS and choice of webserver. I have opted for the standalone approach because I am running nginx in a container. The certificate and key will be created under /etc/letsencrypt/live/YOUR_DOMAIN/, so they would need to be copied to your nginx host folder:
sudo certbot certonly --standalone -m ${YOUR_EMAIL} -d ${YOUR_DOMAIN}

sudo cp /etc/letsencrypt/live/${YOUR_DOMAIN}/{cert.pem,privkey.pem} ${NGINX_HOST_PATH}/ssl/Once the files are in place, the nginx configuration file which should be under ${NGINX_HOST_PATH}/blog.conf must be modified now. Since the ${NGINX_HOST_PATH}/ will be mounted inside the container, the certificate and key files will be available in the container under the /etc/nginx/conf.d/ssl/ folder:
server {
	listen 80;
	server_name DOMAIN_NAME;
	server_tokens off;

	location / {
		return 301 https://$server_name$request_uri;
	}
}

server {
	server_name DOMAIN_NAME;
	listen 443 ssl;
	server_tokens off;

	location / {
		proxy_pass	http://ghost:2368;
	        proxy_set_header    X-Real-IP $remote_addr;
	        proxy_set_header    Host      $http_host;
		proxy_set_header X-Forwarded-Proto https;
	        proxy_set_header X-Forwarded-For $proxy_add_x_forwarded_for;
	}
	ssl_certificate     /etc/nginx/conf.d/ssl/fullchain.pem;
	ssl_certificate_key 	/etc/nginx/conf.d/ssl/privkey.pem;
}
It's important to restart the nginx container after updating the configuration file to pick up the changes:
$ docker restart blog_nginx_1 Now you should see that your blog is now serving in HTTPS 🎉 :
Conclusion
In this article, I have described how you can run your ghost blog with MariaDB and nginx using Docker. Although it might seem like a lot of work, it all comes down to personal preference in the end. Personally, I like to have full control over my personal blog, and like getting my hands dirty. But this comes at the cost of having to maintain everything on my own, which I don't really mind.
If you want to focus more on the content without spending much time for creating and maintaining your blog, there are other alternatives like Medium where you can directly start writing content after creating your account. Or you can still create your Ghost(Pro) fully-managed but that comes at a price starting from 29$/month.
I hope this article was useful for you. Please feel free to leave a comment below or contact me through my email.